There are more than hundred reasons why one would prefer installing Windows 7 from USB flash drive rather than DVD. Some of them could be like, Every time you’ll install it using DVD, it’ll get scratched. So as a solution, you can use the method I’m describing here to install Windows 7 from USB.
Don’t worry, you don’t need to be a nerd to understand it. It’s simple. Just make sure you have
- USB pendrive/flash card of 4 GB or above (Pretty obvious)
- ISO image of Windows 7 installation dvd
- Windows 7 USB/DVD download tool ( click here to download it for free)
Step 1: plug in your flash/usb media
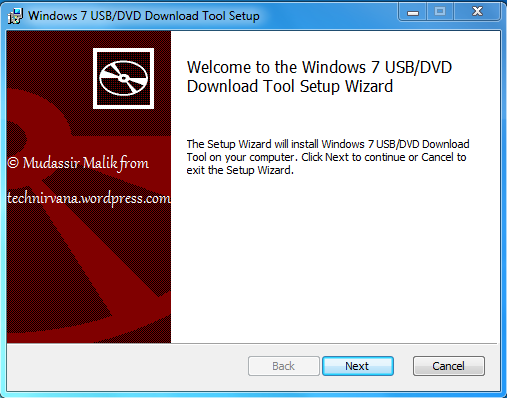
Step 2: Install ‘Windows 7 USB/DVD download tool’
Step 3: Open Windows 7 USB/DVD download tool.
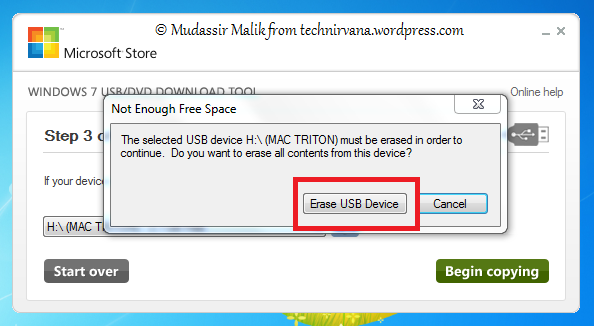
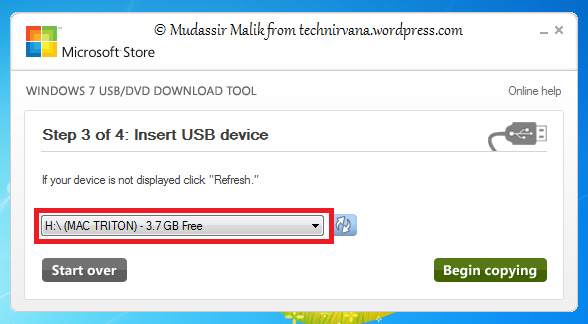
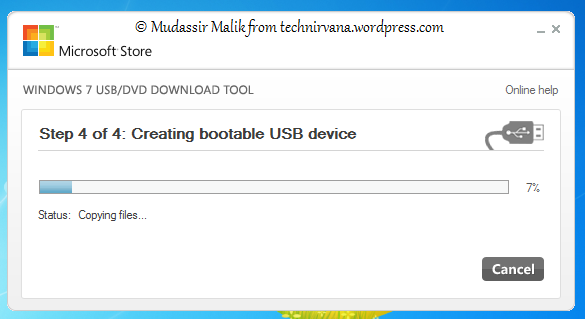
Step 4 : The step now onwards are simple and self-explanatory but still I’m posting screenshots
select he iso file from browser
select the appropriate pendrive
Step 5: Once it’s done, your pen drive’s icon will turn into Windows 7 installation icon
Step 6: Now make sure that you have connected your USB/flash media and restart the pc/laptop
Step 7: Open boot menu (Generlly by ‘Del’ or ‘F4’ key, varies in different computer )
Step 8: Go to advance boot options -> boot sequence -> USB or Flash drive and select it (make sure your USB pendrive is connected or else it might not show you the ption)
Step 9: Save the settings and continue (your PC/laptop will restart and will show you the option to install windows)
P.S. :Make sure you remove the USB pendrive after “Installing..” (before “searching for updates..”) Phase is finished and your PC/laptop is going to restart.
-Mudassir Malik


